Maintaining excellent oral hygiene is crucial for overall health, and one of the latest advancements in dental care is water flossing. Understanding how to water floss effectively can significantly improve your dental routine, offering a more comfortable and thorough cleaning experience compared to traditional flossing. This comprehensive guide will explain what water flossing is, its benefits, how to properly use a water flosser, and the differences between water flossing and traditional flossing.
What is water flossing?
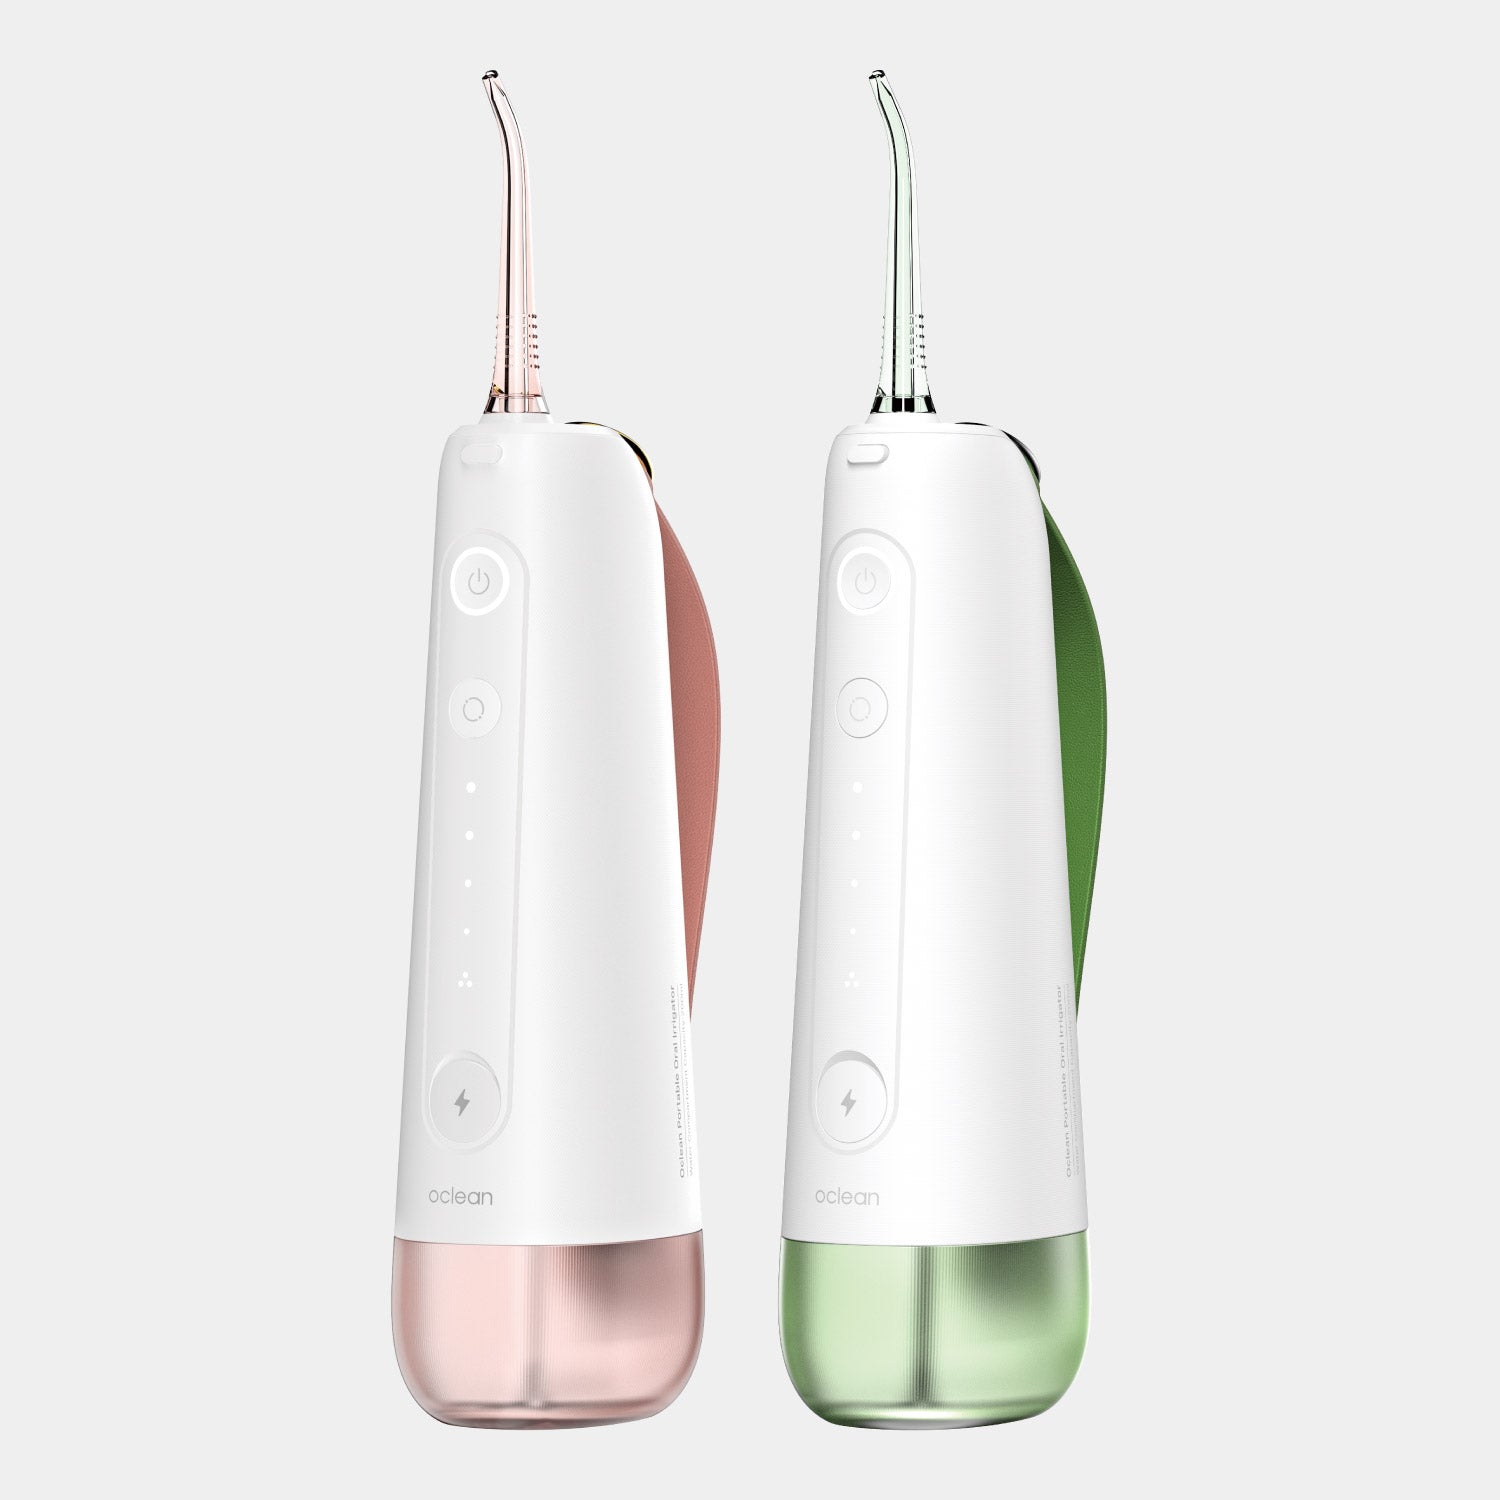
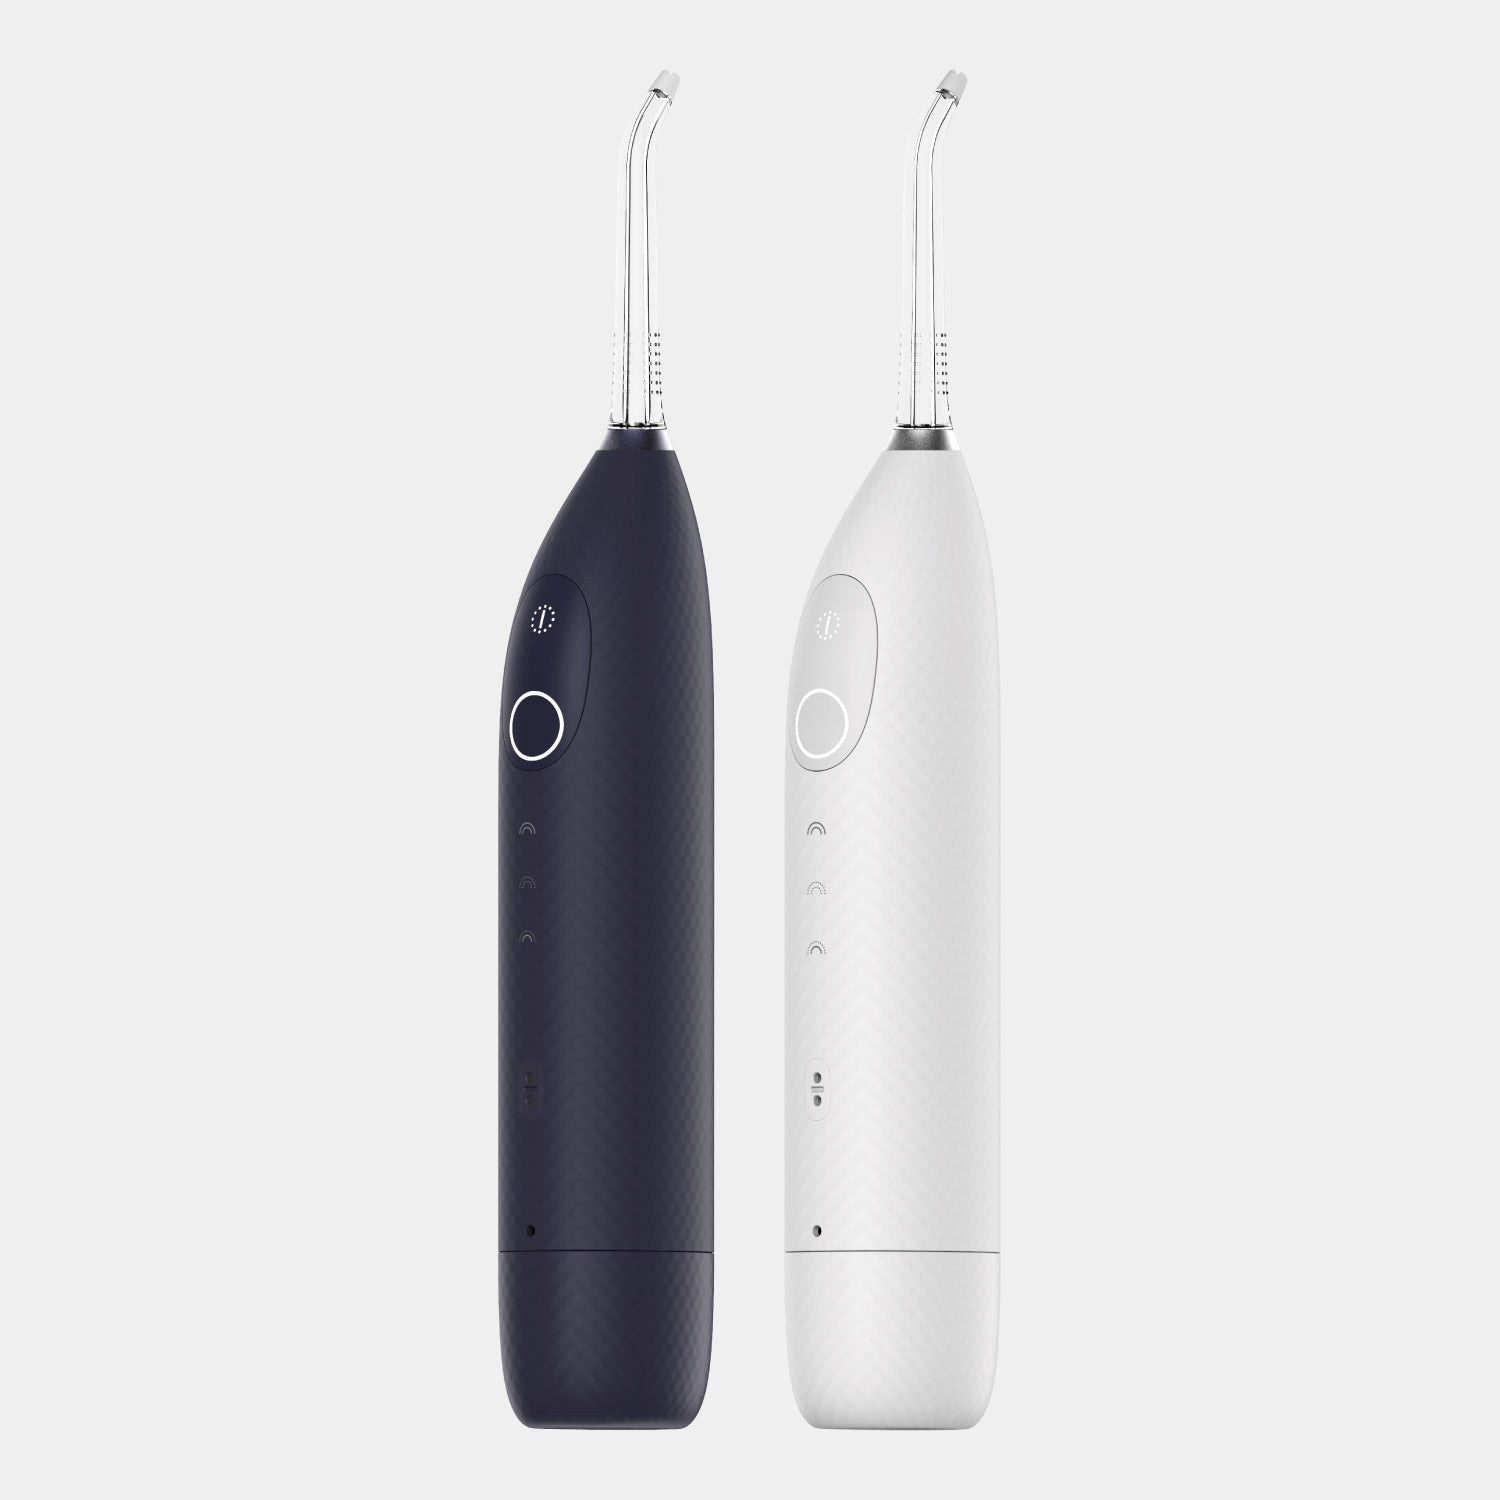
Water flossing, also known as oral irrigation, involves using a water flosser to clean between teeth and along the gum line. A water flosser is a handheld device that directs a stream of pulsating water into the mouth to remove food particles, plaque, and bacteria. Learning how to water floss can help you maintain a cleaner, healthier mouth with ease.
How to properly use a water flosser: step-by-step instructions
Knowing how to properly use a water flosser is essential for maximizing its benefits. Proper technique ensures that you achieve the best results and maintain optimal oral health. Here's a detailed guide on how to use a water flosser effectively.
- Fill the water reservoir: Start by filling the water reservoir of the flosser with warm water. This makes the process more comfortable and effective. You can also add mouthwash to the water for an added freshening effect. Warm water helps in soothing the gums and can make the overall experience more pleasant, especially for those with sensitive gums or teeth.
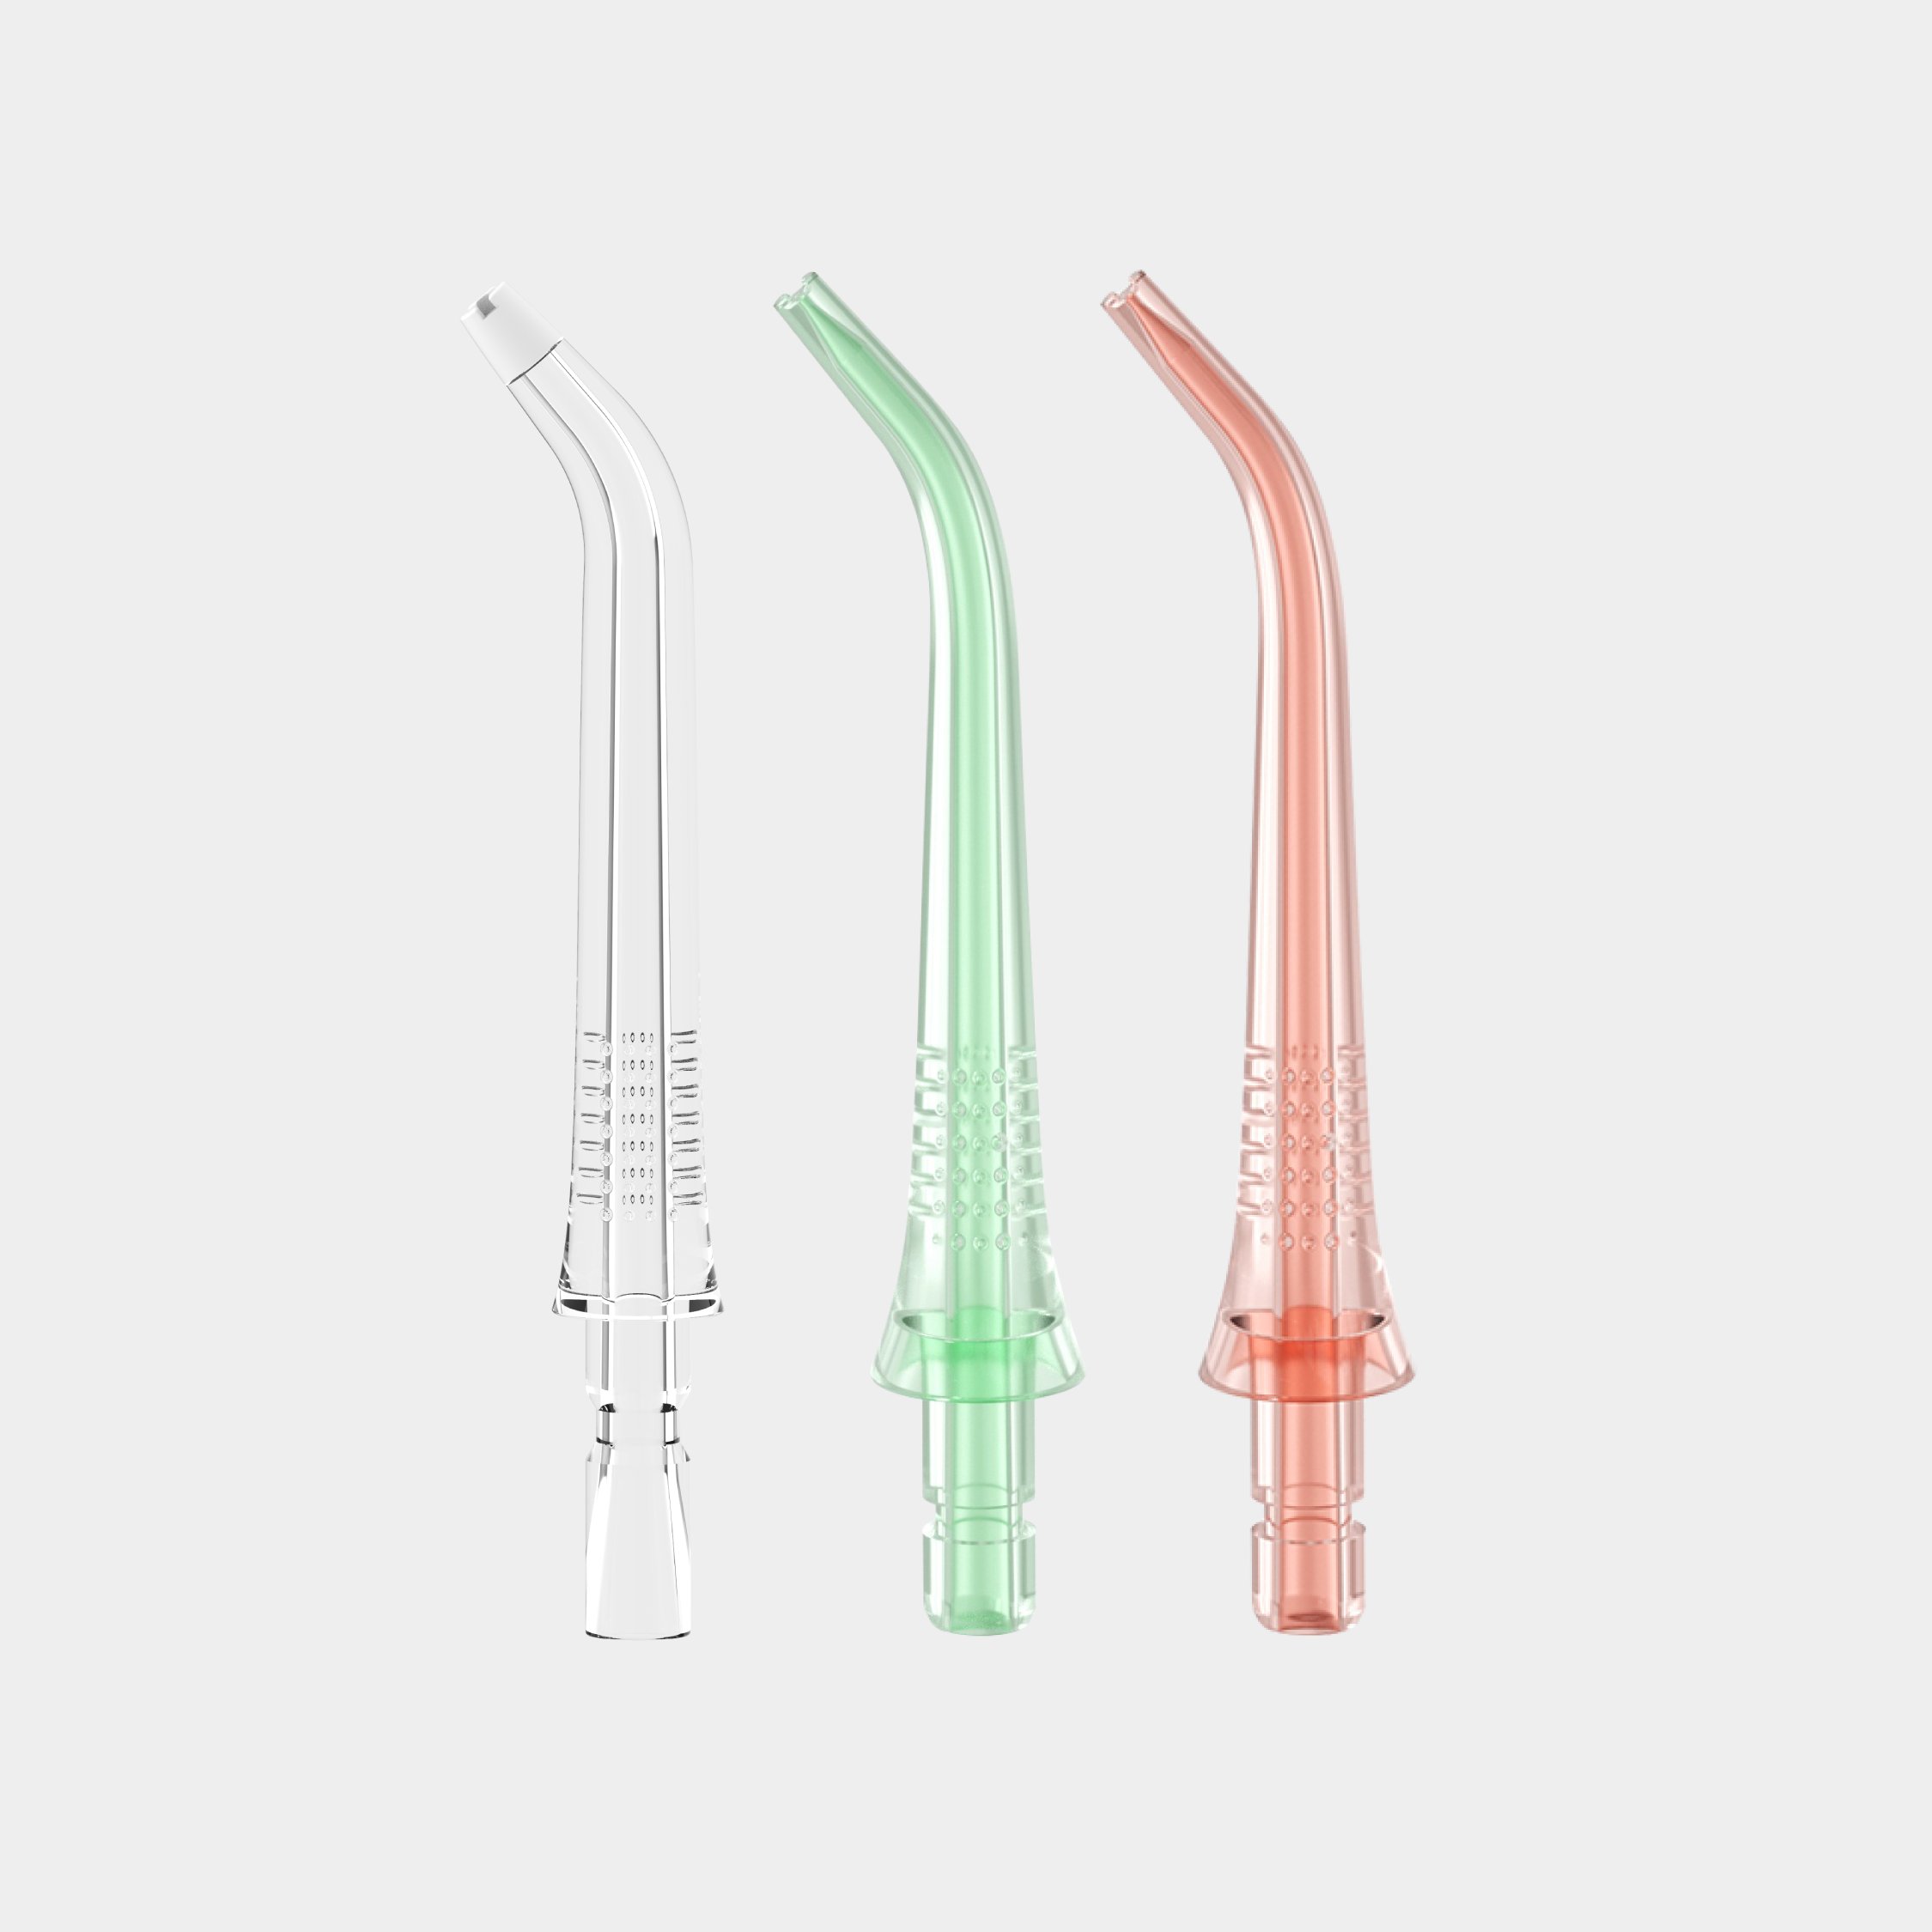
- Select the appropriate tip: Choose the right tip for your needs. Most water flossers come with different tips such as standard, orthodontic, or plaque seeker tips. Attach the tip firmly to the handle. The right tip can make a significant difference in targeting specific areas, such as around braces, dental implants, or particularly troublesome spots prone to plaque buildup.
- Adjust the pressure setting: Set the water flosser to your desired pressure level. If you are new to water flossing, start with the lowest setting and gradually increase it as you become more comfortable. Higher pressure settings can provide a more thorough clean but may be too intense for beginners or those with sensitive gums.
- Lean over the sink: To avoid making a mess, lean over the sink and place the tip in your mouth. Close your lips slightly to prevent water from splashing but allow water to flow freely from your mouth into the sink. This position helps control the water flow and keeps your bathroom clean.
- Turn on the flosser: Turn on the device and start by cleaning the back teeth. Aim the tip at the gum line and move it along each tooth, pausing briefly between teeth to clean the spaces thoroughly. It’s important to angle the tip correctly; aim slightly below the gum line to remove plaque and debris effectively without damaging the gum tissue.
- Follow a systematic approach: Work your way from the back teeth to the front, ensuring you cover both the outer and inner surfaces of the teeth. This systematic approach ensures you don’t miss any areas. Consistency in your technique is crucial to ensure that all areas are equally cleaned, which helps prevent plaque buildup and gum disease.
- Clean the water reservoir and tip: After using the water flosser, empty the reservoir and clean it. Remove the tip, rinse it, and store it properly to ensure hygiene and longevity. Regular cleaning of the device prevents the buildup of bacteria and ensures that it continues to function effectively.
By following these steps on how to properly use a water flosser, you can effectively clean your teeth and gums, ensuring a healthier mouth.
Water flossing tips
To get the most out of your water flossing routine, consider the following tips:
- Use warm water: Using warm water can make the experience more pleasant, especially if you have sensitive teeth or gums. The warmth helps soothe your gums and can make the pulsating water feel less harsh, ensuring a more comfortable and enjoyable flossing session..
- Add mouthwash: Adding a small amount of mouthwash to the water can enhance the cleaning power and leave your mouth feeling extra fresh. Mouthwash can provide additional antibacterial benefits, helping to reduce plaque and prevent gum disease while also giving you fresher breath.
- Be consistent: Make water flossing a regular part of your daily routine. Consistency is key to maintaining good oral health. Just like brushing your teeth, water flossing should be done at least once a day to effectively remove plaque and prevent the buildup of harmful bacteria.
- Focus on problem areas: Pay extra attention to areas where you have dental work, such as braces or implants, as these can be more prone to plaque buildup. Orthodontic appliances, bridges, and implants can create hard-to-reach spaces where food particles and plaque can accumulate. Target these areas to ensure they are thoroughly cleaned.
- Replace tips regularly: To ensure your water flosser remains effective, replace the tips according to the manufacturer’s recommendations. Over time, the tips can wear out or become less effective, so regular replacement ensures optimal performance and hygiene.
- Move slowly: Take your time and move the flosser tip slowly along your gum line and between your teeth. Pausing briefly between teeth allows the water to effectively dislodge any trapped food particles and plaque.
By integrating these practices into your oral hygiene routine, you can maximize the benefits of water flossing and maintain a healthy, vibrant smile.


